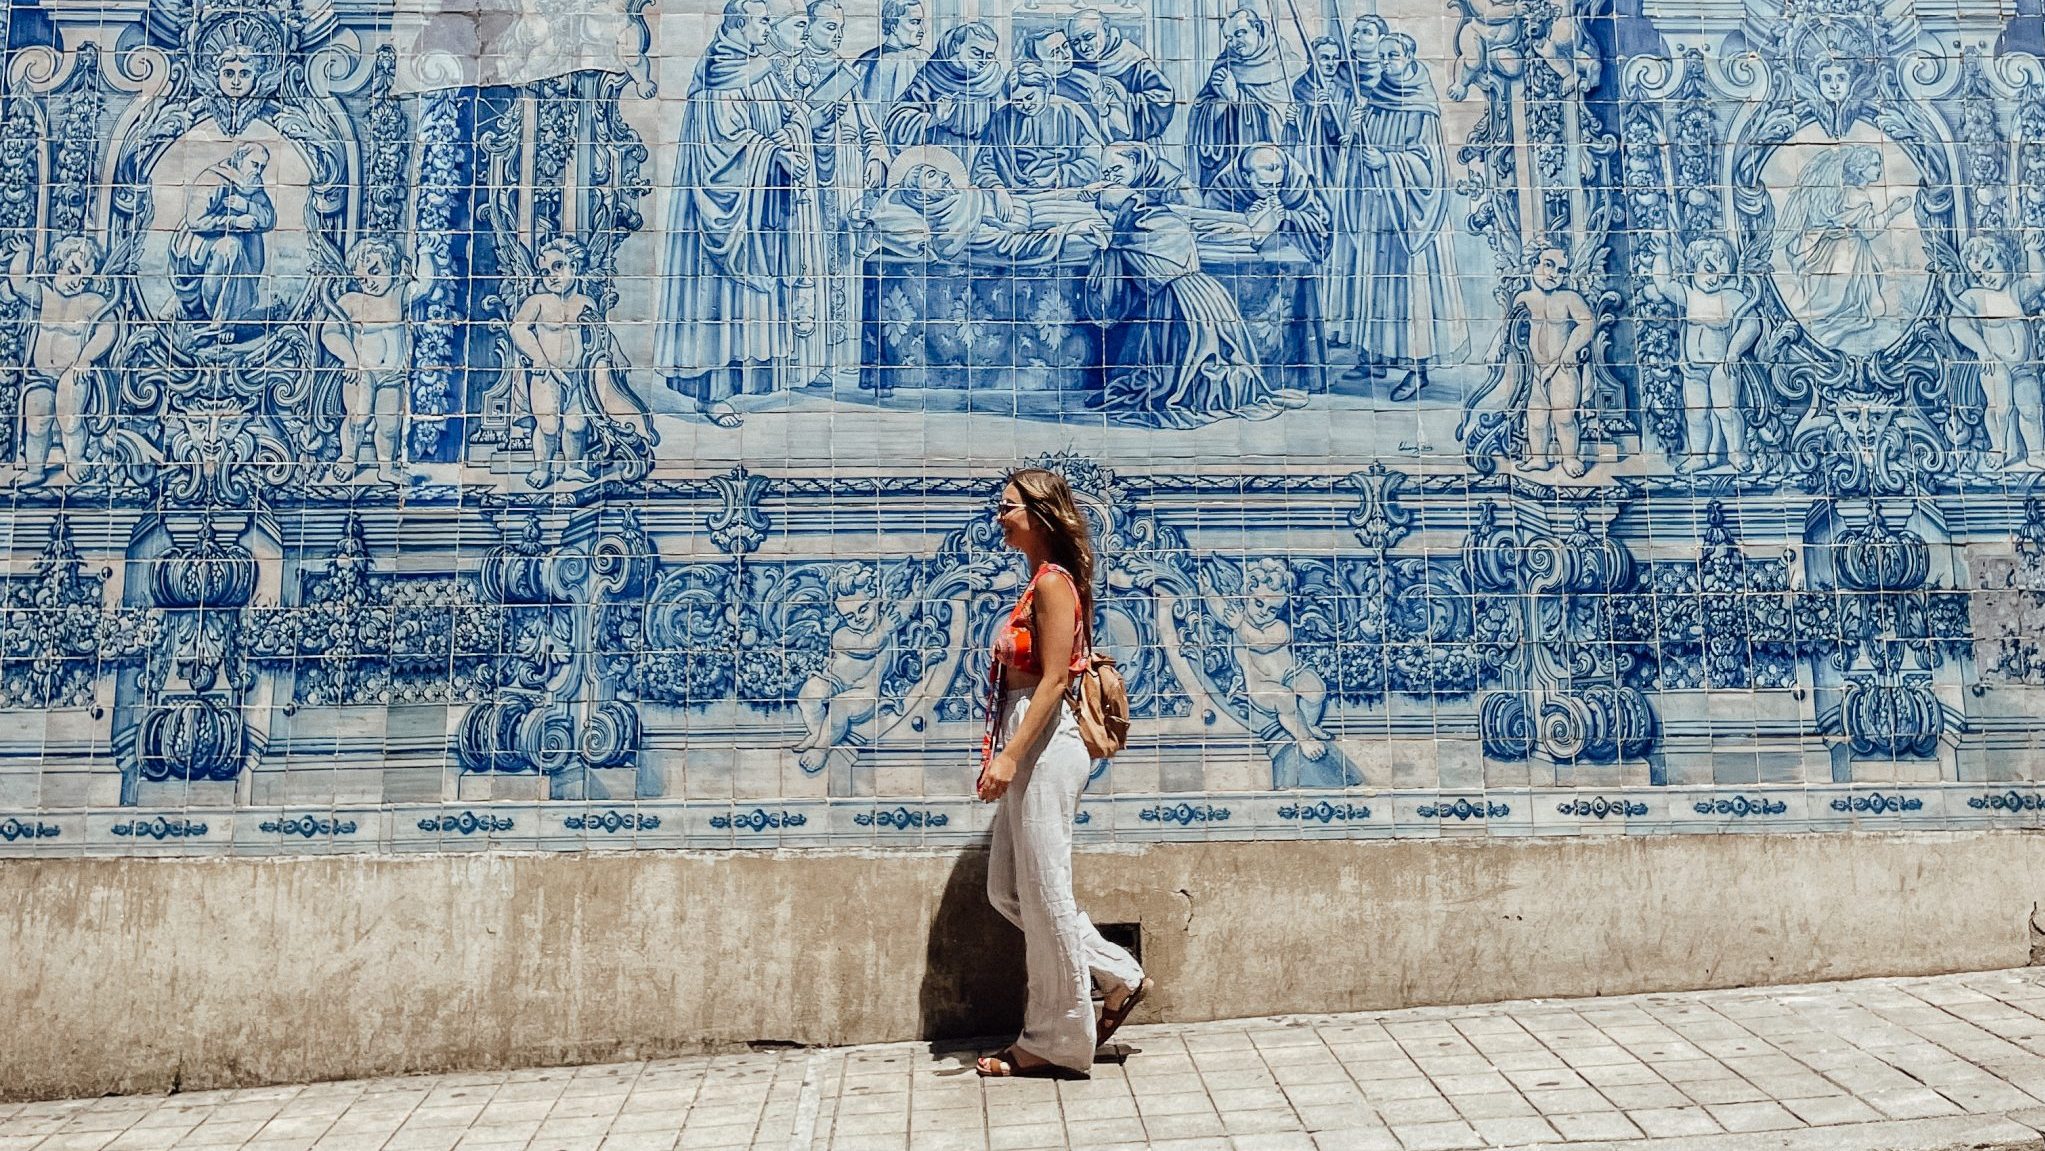
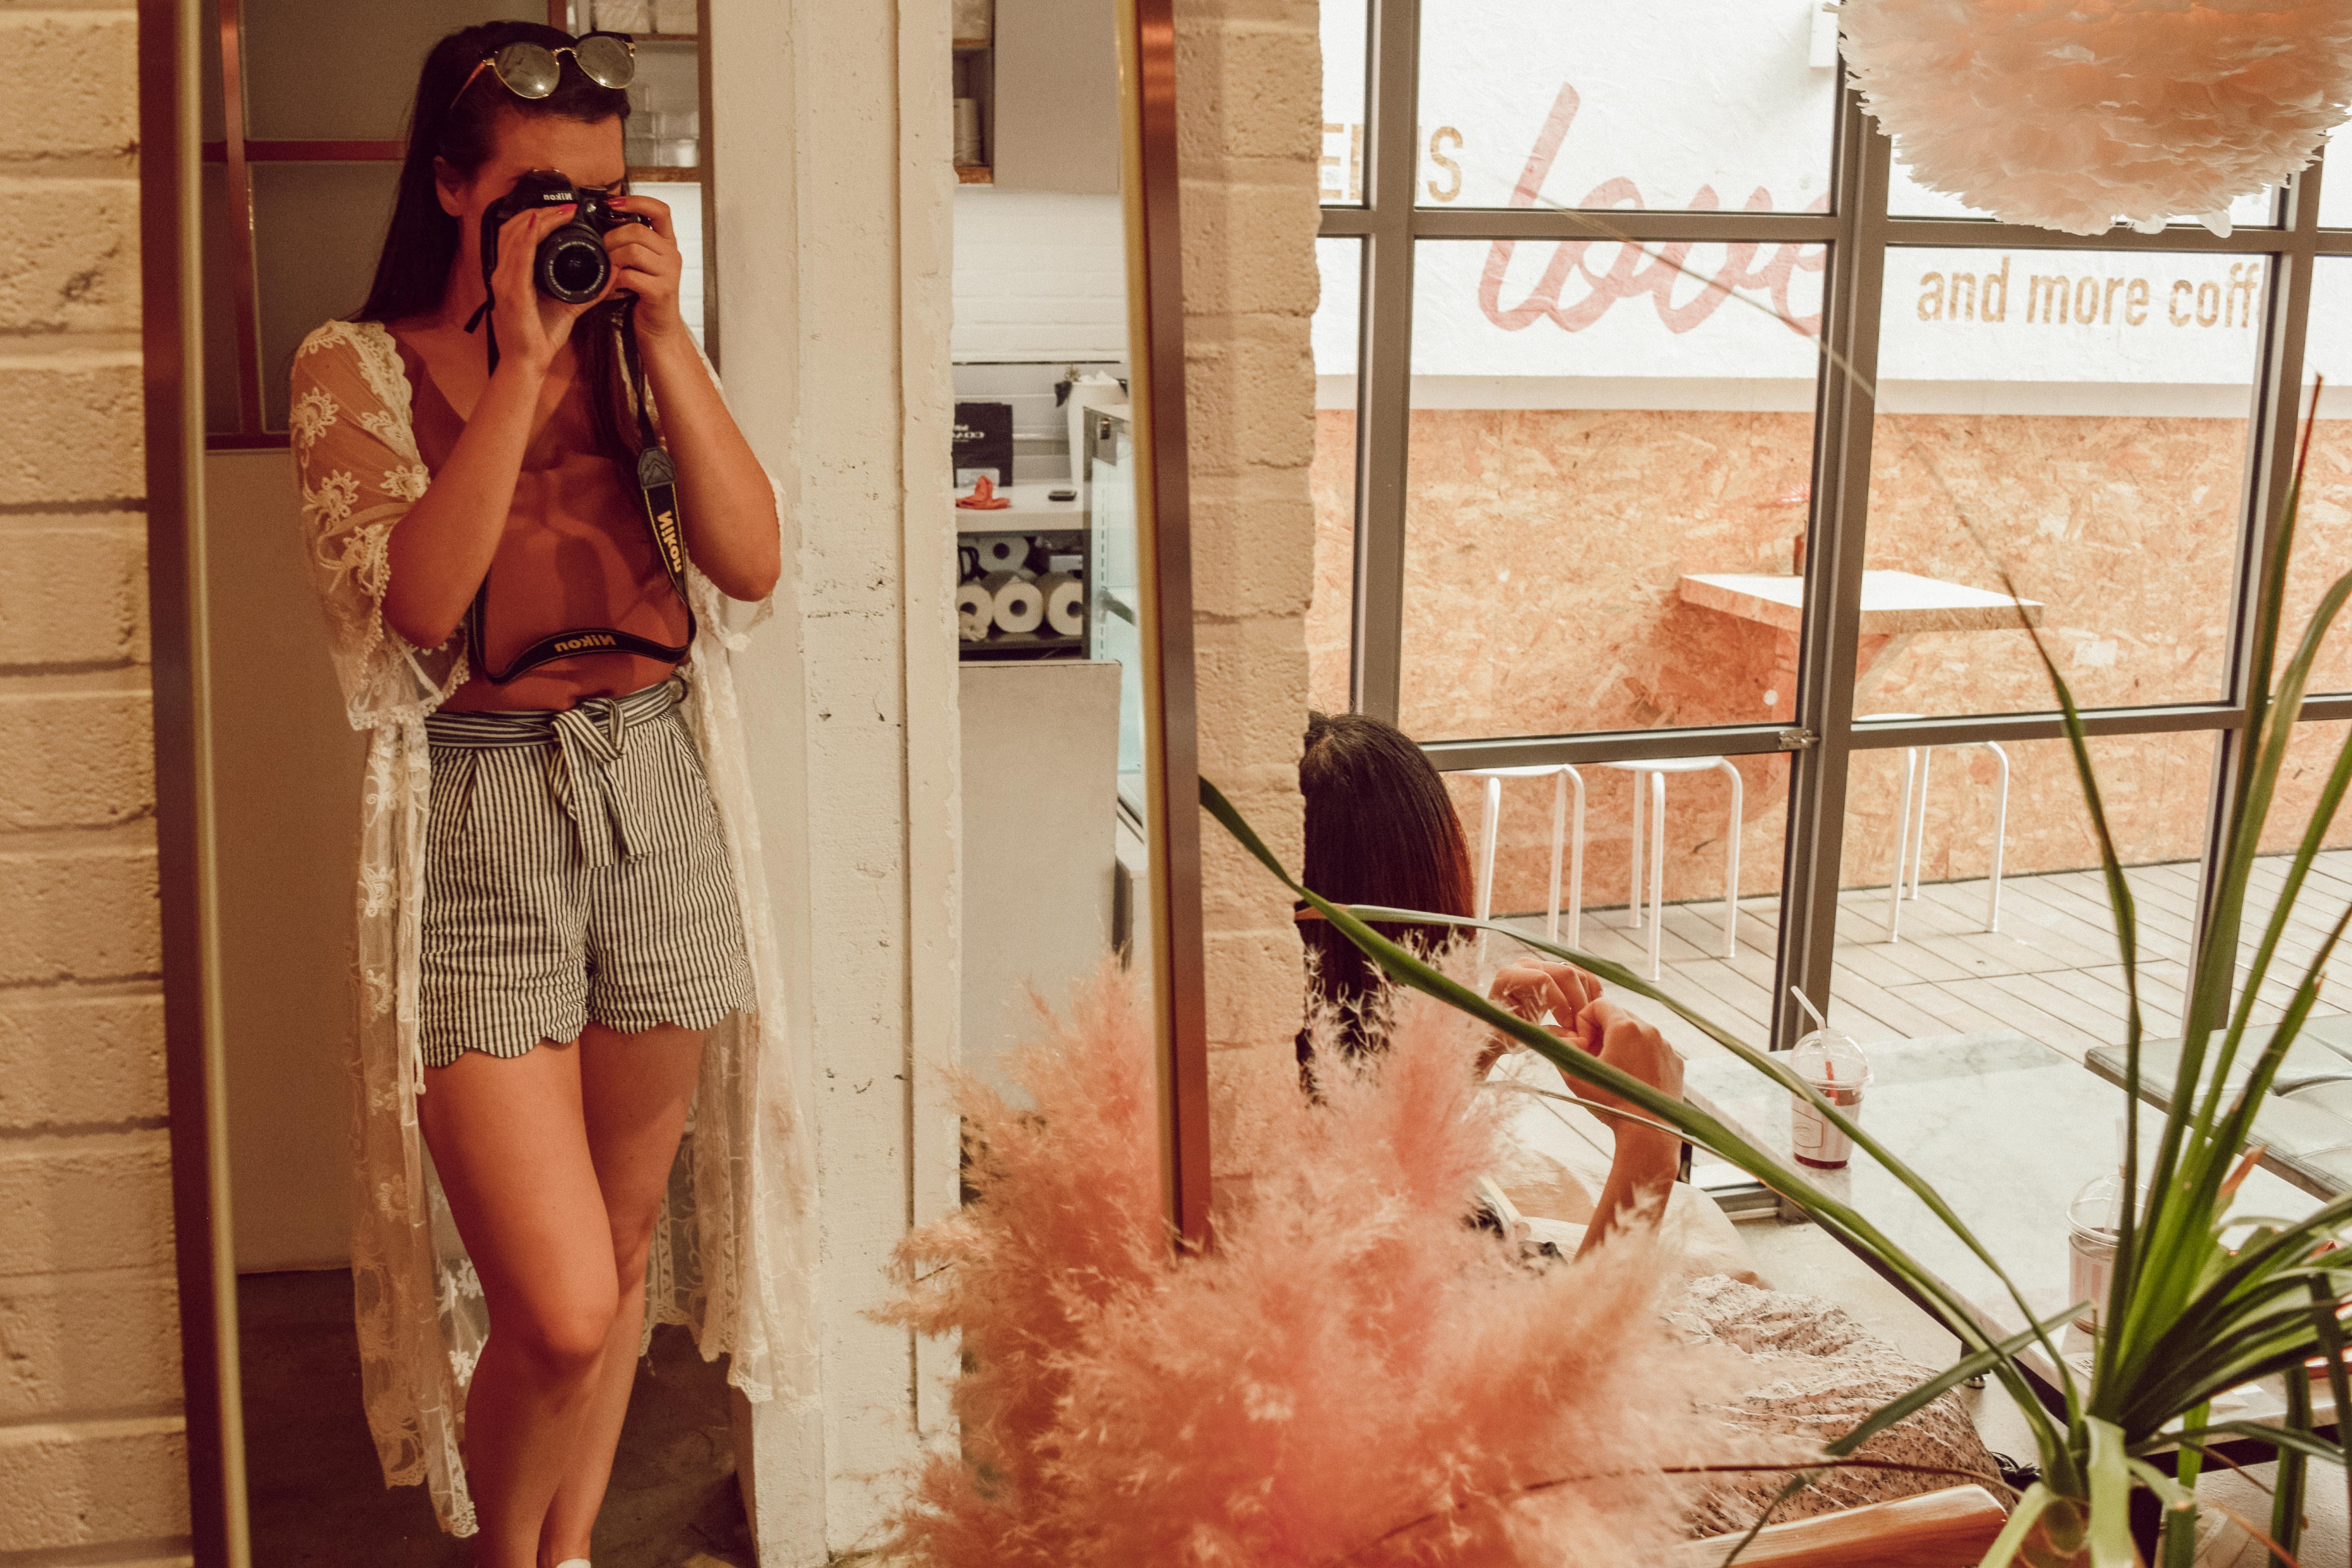
I always love to hear how other solo travelers get their most epic shots for their blogs, Instagram feeds, etc. I can promise you that those images that appear to be effortless, most definitely took a lot of behind the scenes work. I’m here to explain my personal process when it comes to taking solo travel photos.
Wouldn’t it be nice to have an Insta-husband to take photos of your all around the world? I can confirm that yes, it is. I traveled with a boyfriend for nearly three months in Europe, and got so many amazing travel photos. He was extremely patient {saint-like almost} when it came to me bossing him around to get the perfect shot. And I am forever grateful for those images that I have in Europe because of him.
I have also had the luxury to travel with friends in the past. While it can be harder to get bossy with friends about the ‘perfect shot’, it’s always nice to avoid pulling out a tripod every few minutes. The photos I get from friends are so much more meaningful because I’m reminded of the memories from that experience.

With all that being said, I’ve obviously done quite a bit of solo travel over the years as well. In these instances, there are a few options available when it comes to getting the perfect solo shot.
1. Ask a stranger
This is my least favorite option, out of the four, when it comes to taking solo shots. While I have successfully achieved a ‘candid-looking’ shot before thanks to a stranger, it’s usually the exception, rather than the norm.
Most tourists are there to get standard ‘here-is-me-smiling-with-some-famous-landmark’ photos. Therefore, they wait for you to look and smile at the camera before they take the shot. Once you look away from the camera, it’s game over.

If I’m dealing with a millennial, however, they usually understand what I’m looking for. They take multiple shots {options, duh}, they make sure to get some candid shots, and sometimes they will even direct me.
Therefore, my advice is as follows: Ask a millennial. Your chances of getting the shot you want are more likely. If you can’t find a young person to take your photo, kindly explain the type of photo you want to the person taking it.

For example, I say, “Can you please take two photos of me? One where I am smiling at the camera, and another where I am looking away from the camera?” The worst thing you’ll usually receive is an odd expression. Most people simply don’t understand why you would take such a photo. But who cares? You won’t see those people ever again. Take advantage of the opportunity. Most people are more than happy to take your photos.

When it comes to approaching people, it’s also important that you offer to return the favor. It’s actually the best way to start a conversation. Just ask if they want a photo together, or if it’s a solo traveler, ask if they would like a hand.
2. Use a tripod
This is my absolute favorite way of taking solo travel photos. While it takes the most effort, and is the most time consuming, I always end up getting the most accurate portrayal of my initial vision. Tripods are actually super affordable, and light enough to travel with. I can fit mine in my purse, along with my camera, and always find it manageable.

I honestly just purchased a random tripod on Amazon, so I’ll link a similar one here. While it would be super convenient if my Nikon D3300 had WiFi capabilities, it unfortunately does not. Therefore, it’s impossible for me to use a remote when taking solo shots.
That means I use the good ol’ “self-timer and run” method. My camera allows me to take 10 photos at a time {each a couple seconds apart}, in self-timer mode. That means I have 10 opportunities, once I press release on the shutter button, to get the shot.

As you can imagine, the majority of my photos are duds when I use this method. Many of them include shots of me running to and from the camera. Some of them my eyes are closed because I have no idea when the next photo will be taken. At times the tripod is so far away I can’t hear the shutter button release. So many factors make this option difficult {to say the least}.
That being said, once I get a few rounds of duds, I start to understand how and where I want to pose my body. Once I’ve nailed that, I can simply position myself perfectly, and then work on my best ‘fake laugh’ or ‘looking at something really intriguing’ face.

I know it sounds silly, but that’s because the whole ordeal really is. I always get stares from people around me. Sometimes people snicker or laugh at my set up. But ultimately I don’t mind it. I am always so pleased with the results, that it makes the awkwardness worth it.

Behind the scenes… 
…and the final image
3. Find a ledge
Similarly to the tripod, using a ledge to up prop your device, is a more subtle way of taking solo photos. Having any ledge, bench, fence, or table can be extremely helpful with getting the perfect shot. In these cases, I would follow the same steps as I would with a tripod – just minus the tripod.

The only downside to this option is the fact that it’s unreliable. Simply put, you can’t always depend on their being a ledge available to you. In these instances, you must get creative. For example, when I visited the Petronas Twin Towers in Kuala Lumpur, I had to experiment with different angles in order to get a decent shot. I ended up resting my GoPro against my purse on the ground to get the image below.

Basically, you should use what is available to you in any given location. I’ve stacked items in my purse on top of one another. I’ve tied up a sweatshirt to two trees and balanced my camera in the man-made pouch. I have done it all.
4. Use a GoPro + a selfie stick
And finally the last way I take my own photos is by using My Life’s A Travel Movie‘s technique. Alyssa became known for her GoPro selfies years ago. She was ultimately the one that inspired me to buy a GoPro in the first place.

This method can take a little while to master, and looks the most ridiculous. Unlike my camera, my GoPro Hero 5 has WiFi capabilities. Therefore, I am able to access my GoPro’s functions via the GoPro app on my iPhone. I downloaded the app when I first got my GoPro and it’s really easy to navigate.
I simply attach the GoPro to the selfie stick, connect my GoPro to my phone, select the option that allows me to see the real-time preview of the camera lens, and then position myself accordingly. Since I am able to see what the camera sees, it allows me to frame the picture exactly how I want it. Once I’m happy with the shot, I press the shutter button and a photo is captured.

The hardest part about this method is positioning your arm correctly. The angle is an uncomfortable one if you want the photo to turn out like the one below. And it looks really weird to the passerby.

Either way, I love using this option to take my photos. While the quality isn’t nearly as good as my Nikon, I still get very unique photo angles. And I am able to use the wide angle lens to capture more of my whereabouts in the image.
And there you have it. Those are the four ways I take my own photos while traveling alone. Of course, they don’t always go to plan. Therefore, I figured I should also include the not-so-effortless shots that didn’t make the cut. These are prime examples of the shots that I have to sift through in order to find one decent image.

Instagram 
Reality

Instagram 
Reality {completely out of focus}

Instagram 
Reality

Instagram 
Reality

Reality 
Reality 
Instagram

Instagram 
Reality

Instagram 
Reality

Instagram 
Reality

Instagram 
Reality

Instagram 
Reality

Instagram 
Reality

Instagram 
Reality
What is your favorite method of taking solo travel photos abroad? Do you get as many awkward looks as I do? Are you lucky enough to have an Insta-husband-wife-mom-dad-brother-sister to help you? Or, like me, do you actually enjoy the entire process of capturing your own images?


These are great tips! Your shots look so natural! I love the instagram vs. reality — so funny.
-Summer
travelingsummer.com
Thank you so much! Some of my favorite photos are the ones that went wrong. Gotta love the humility factor…